

Benchmark Advance + Google Slides
- Ceres EdTech

- May 14, 2020
- 2 min read
Hi everyone, this is Antonio from Lucas with today's blog post. Today I will review how to create a Google Slides type-able document using a table to type in. This is handy to have students complete graphic organizers using the provided Benchmark Advance presentations.

Here we go!
First log in to Clever and go to Benchmark Education.

Next go to the resource you will need, for this example I went to Benchmark Advance.

I picked my grade level, unit and week. For this example I picked grade 3 unit 8 week 1 class presentation.
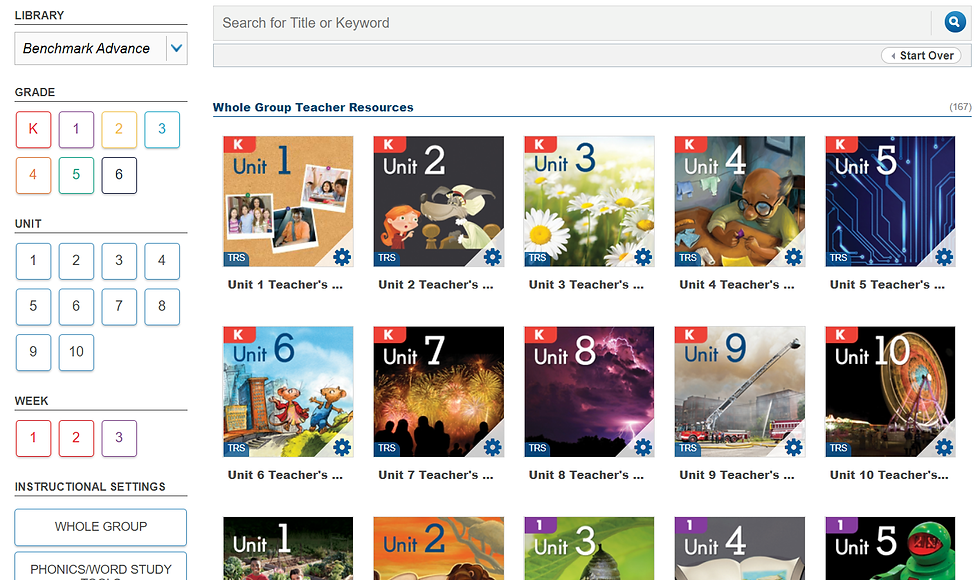
Next, locate the graphic organizer you would like.

Then you take a screenshot of the graphic organizer you would like using a screenshot tool.

Save the screenshot as an image on your computer, you can see I named this one “Unit 8 Week 1 Lesson 1”, and make sure you save it as a JPEG image file.

You will then need to open a blank Google Slides presentation.
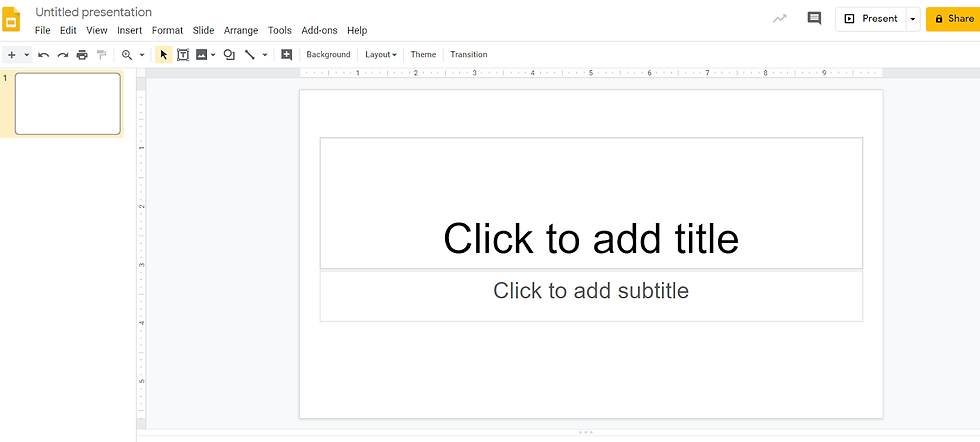
You need to go to page setup to format your slides.

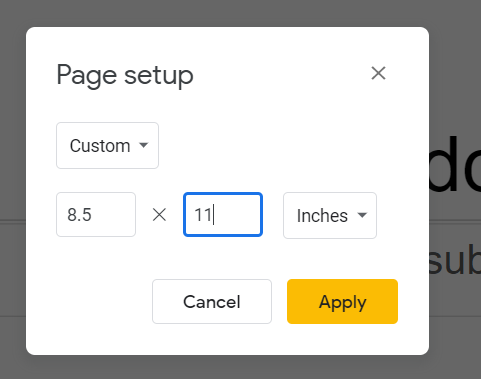
Once you go to page setup, choose the “custom” option.

When in page setup choose 8.5 X 11 inches, this also makes it handy in case you want to print your document.
To bring your graphic organizer into your Google Slide you will click anywhere on your presentation and pick “change background”.

You will select “choose image” and select the file you saved earlier.
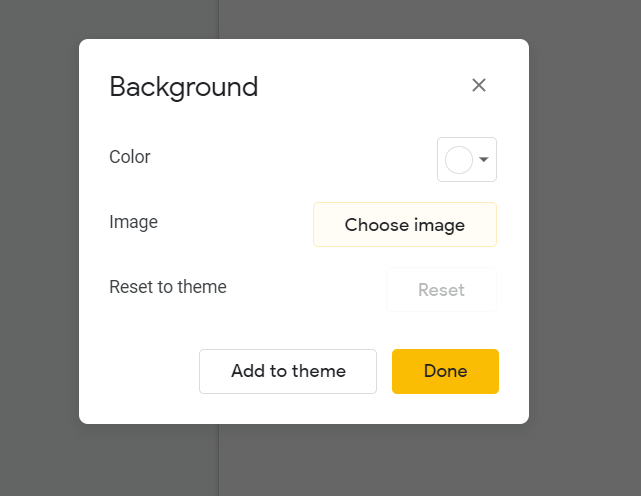
Now you have your graphic organizer as your background and it cannot be easily deleted!!!

Next, add boxes to type in by adding a table. For this organizer we will need a 2 X 3 table.

Resize your table to fit over your organizer.

Now your table is ready to type in.

Now you can go back and format the font and table properties to your liking.

Now you are all set and ready to assign it to your students, enjoy!
Stay Techie,

Antonio Garcia
3rd Grade Teacher
Lucas Dual Language Academy


Comments